


关于星空体育·(中国)官方网站-星空体育(世界杯)
品牌介绍
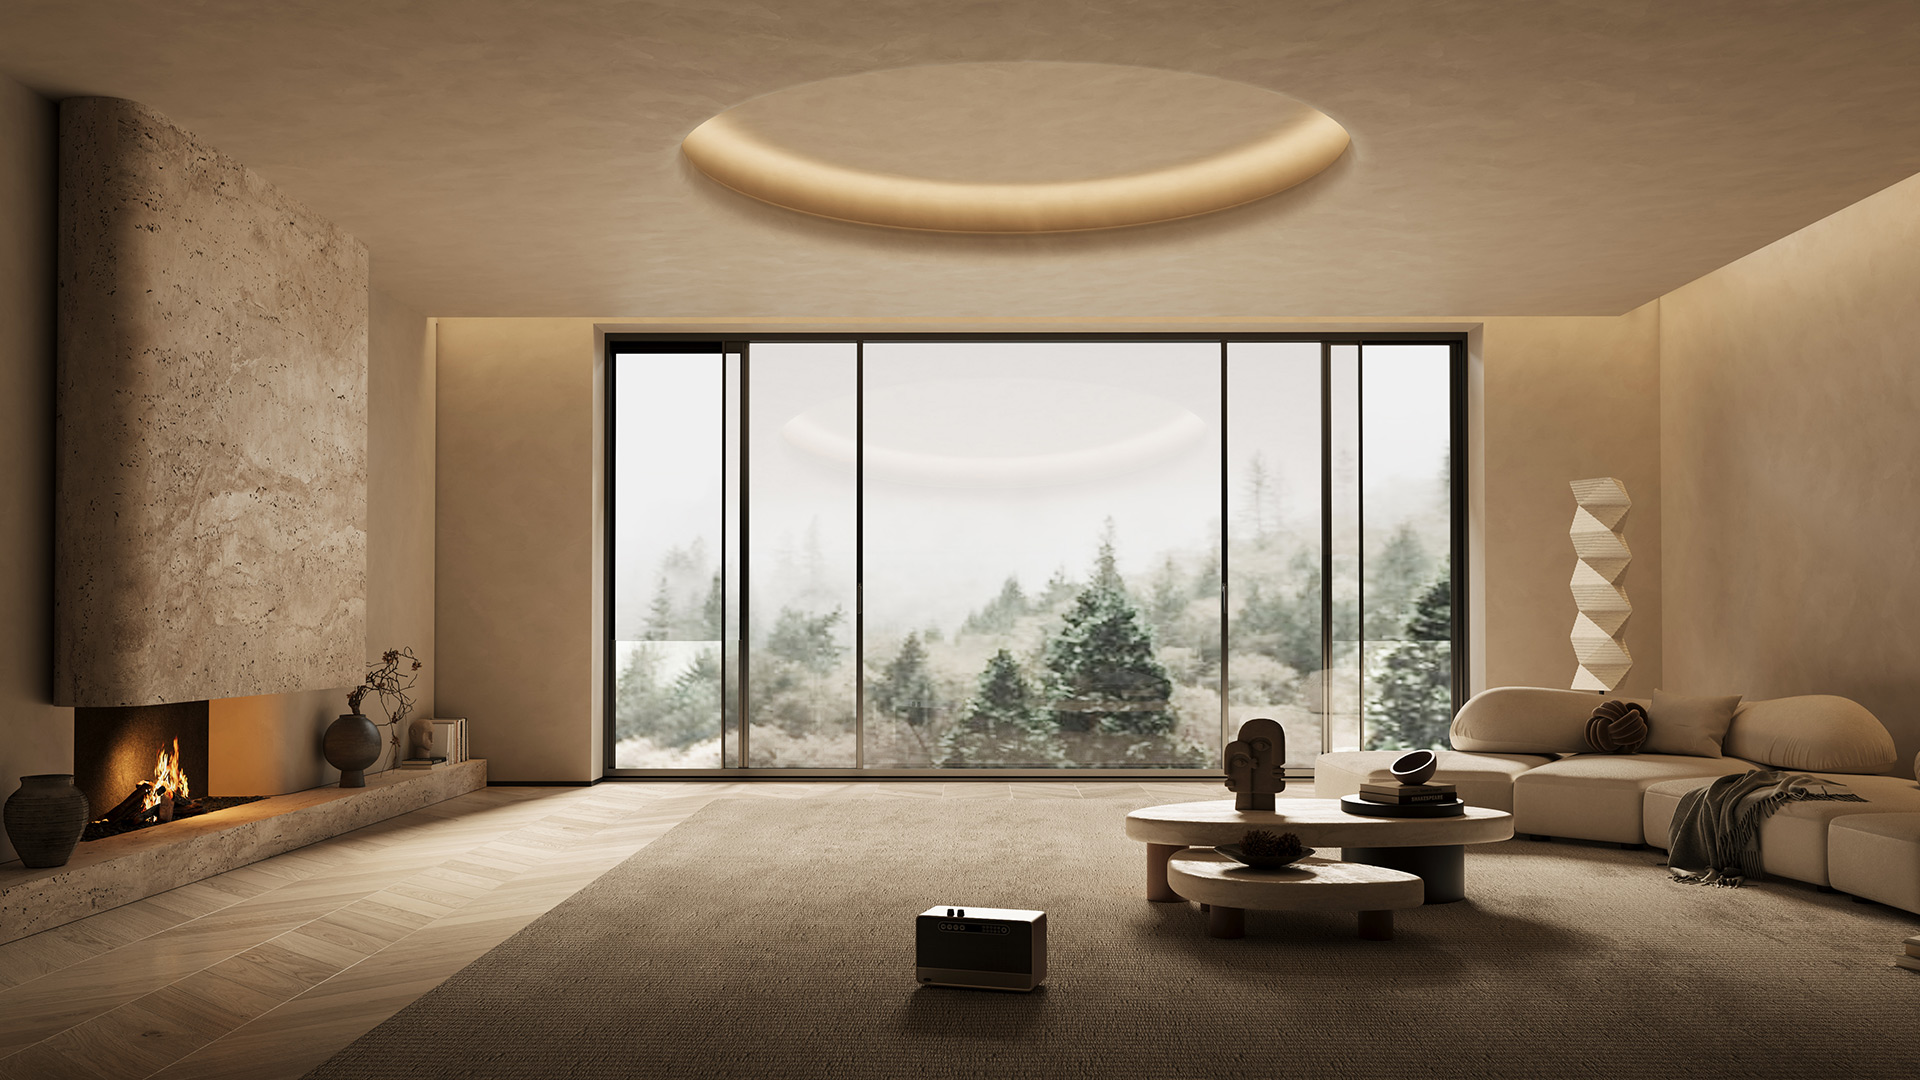
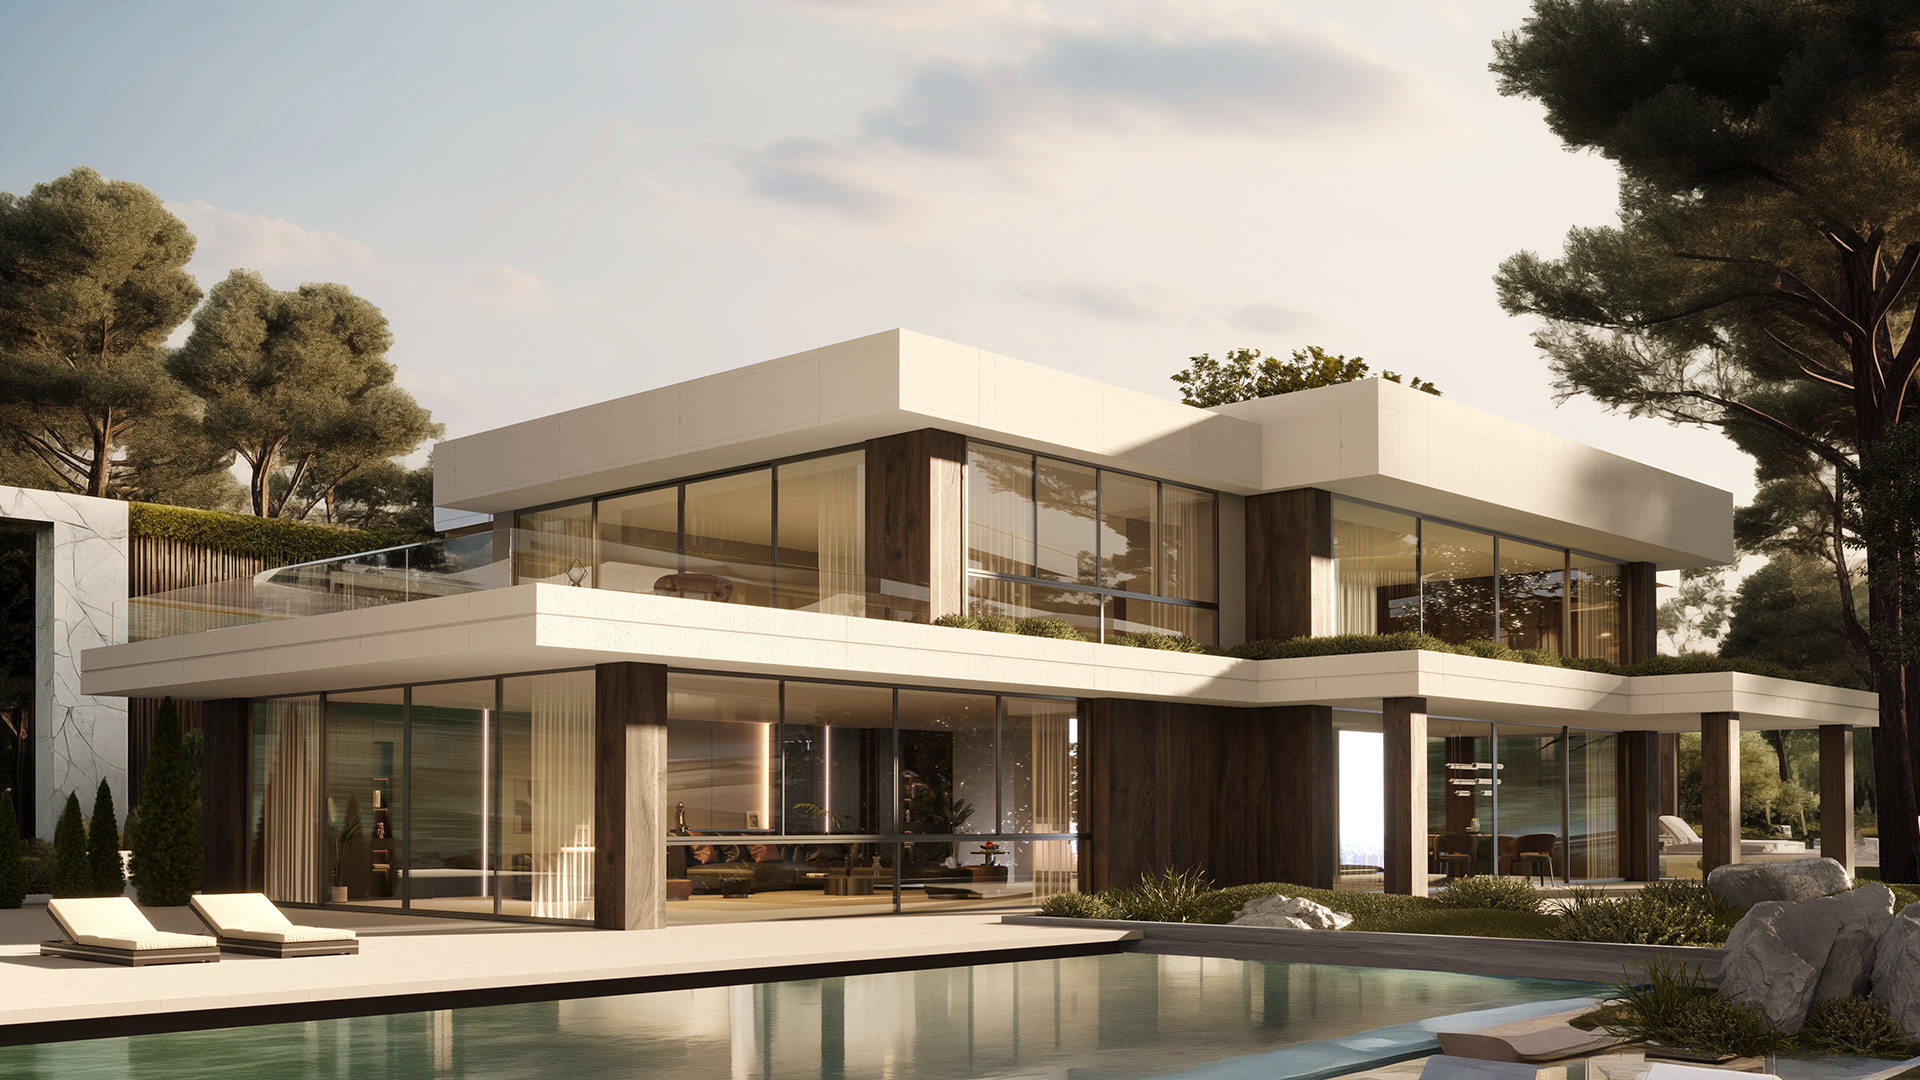
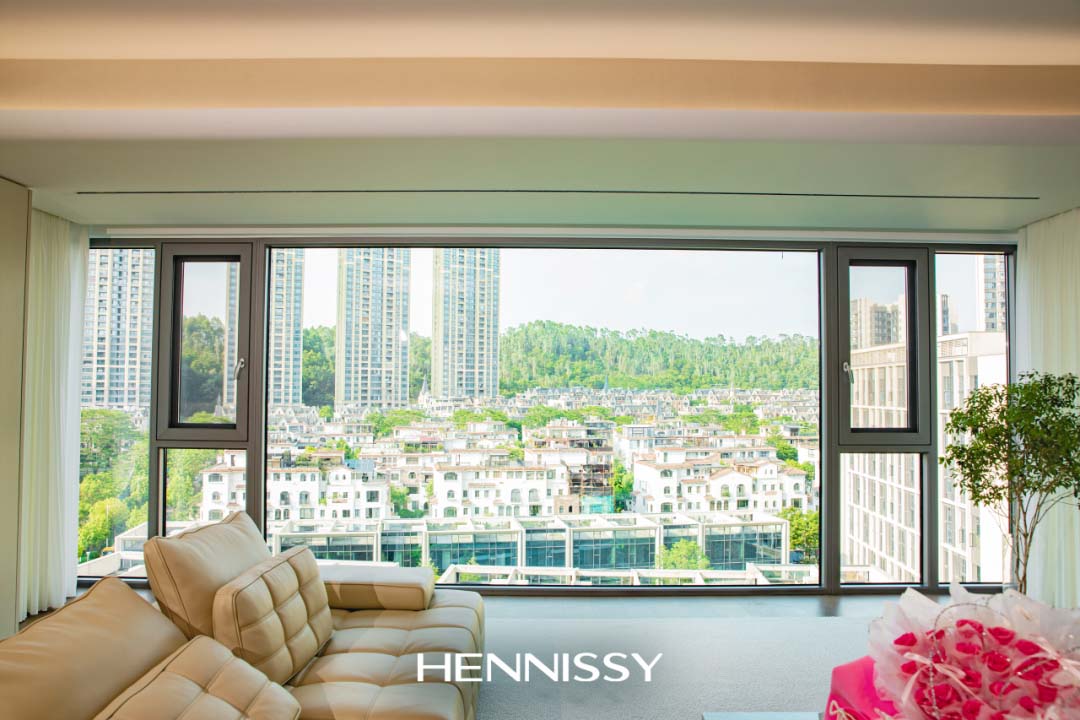
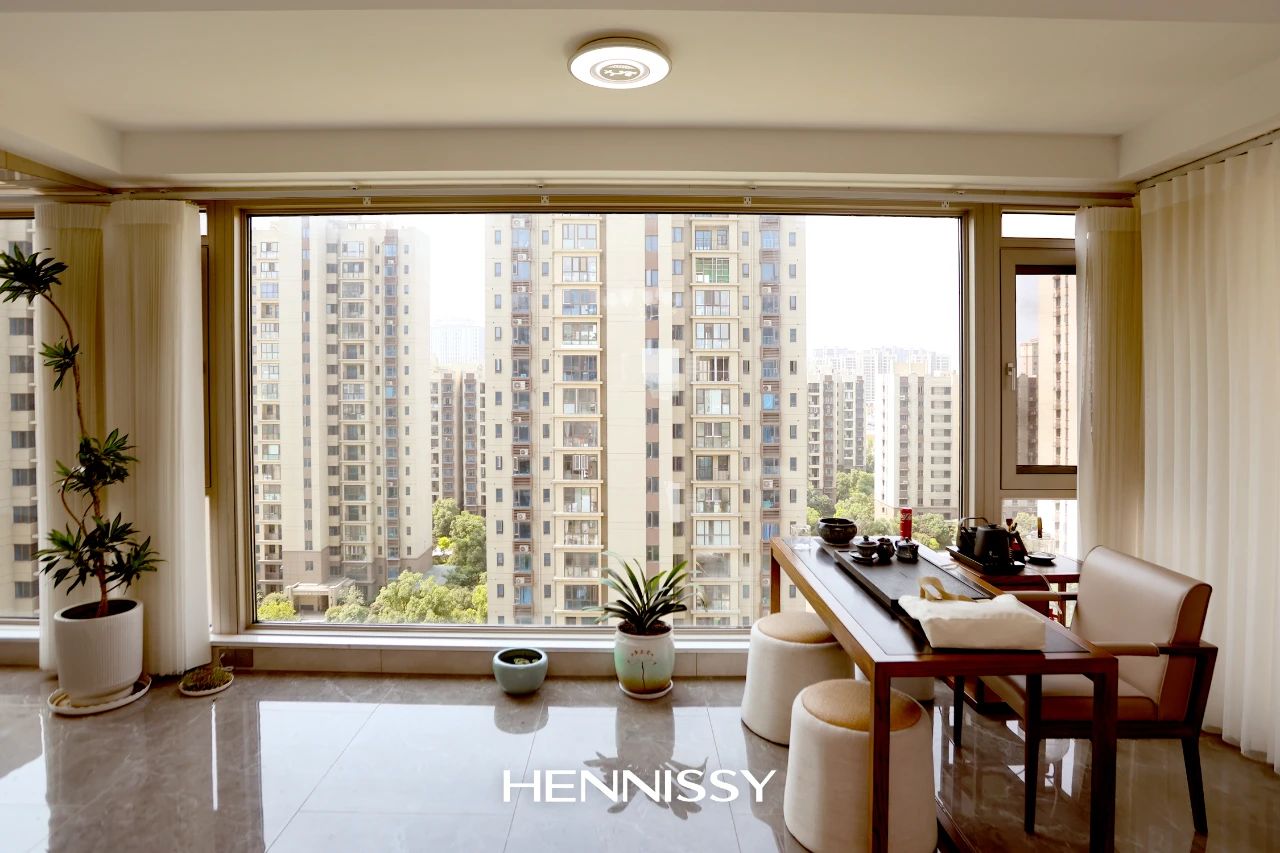
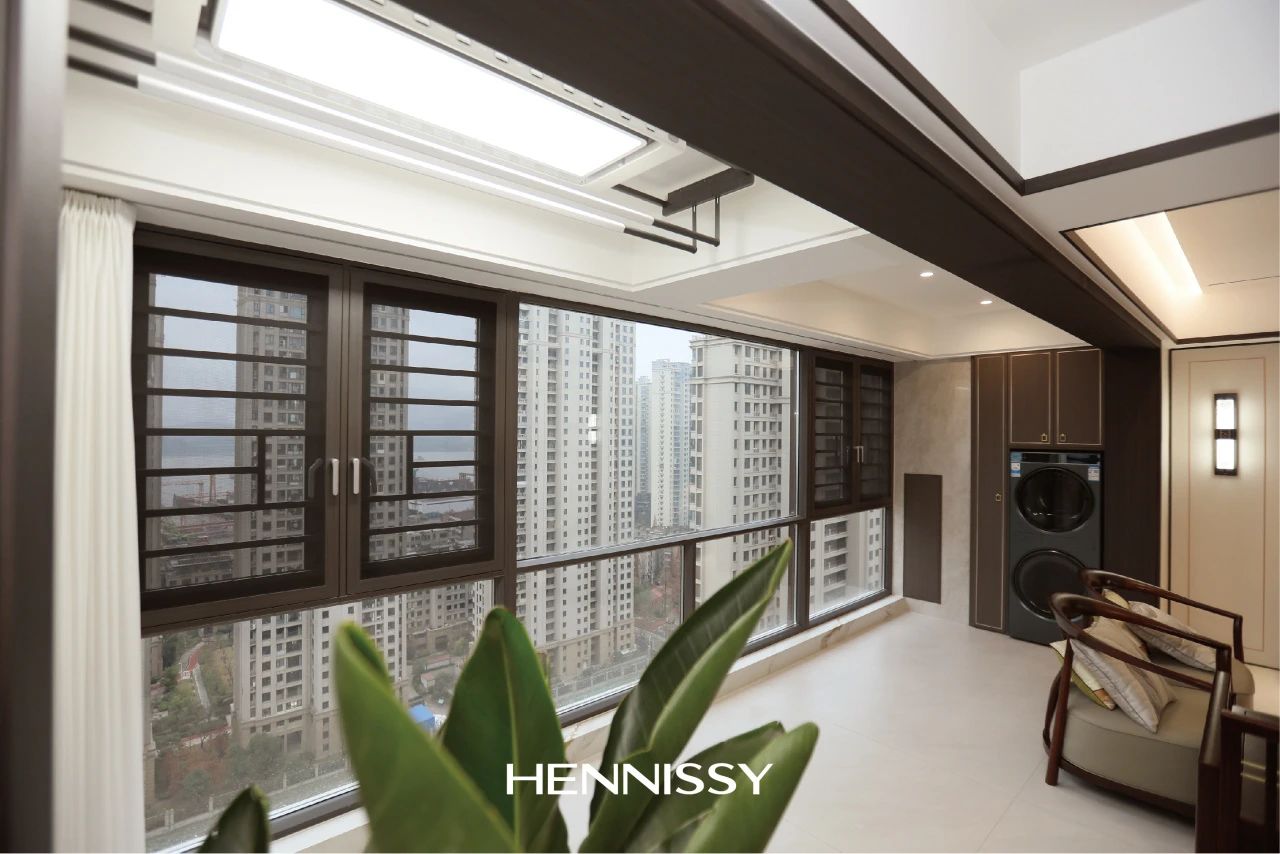
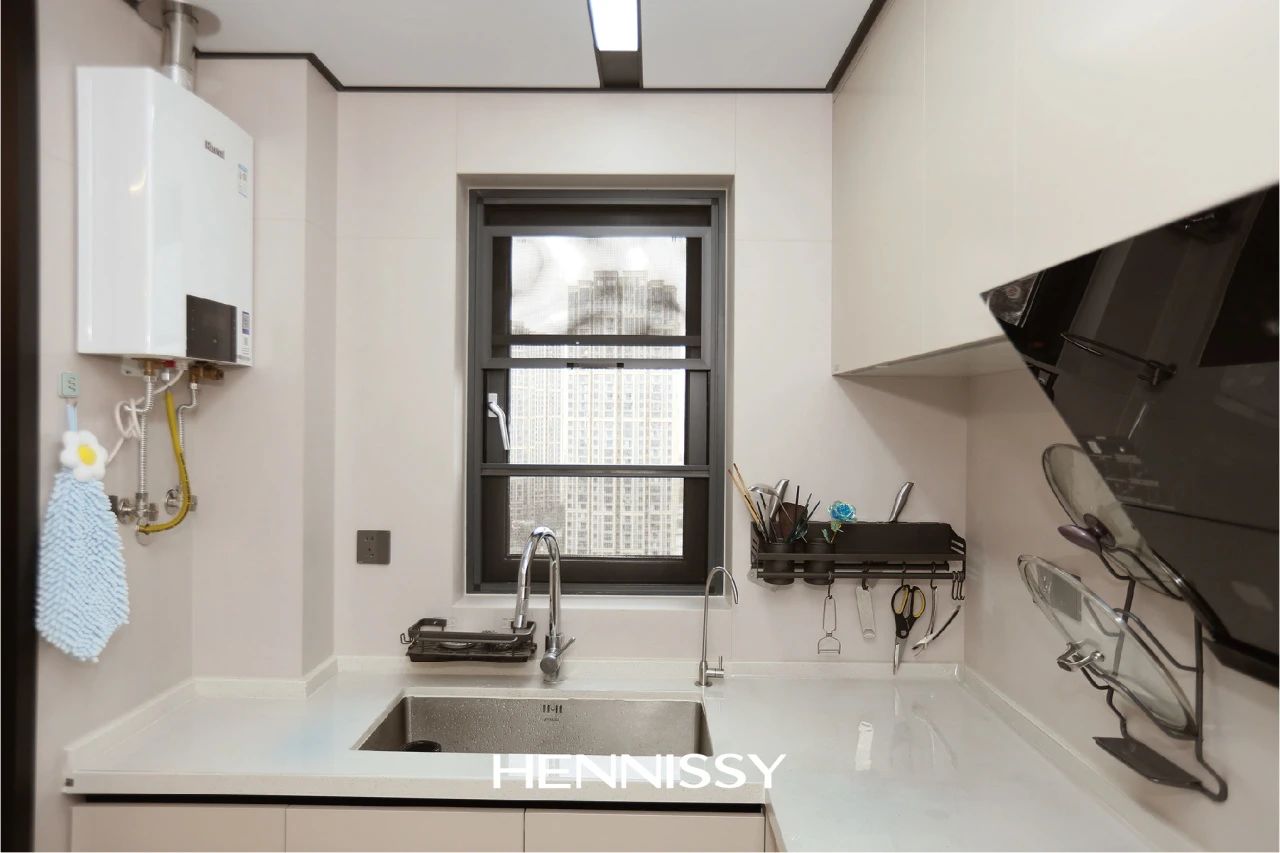
星空体育·(中国)官方网站,品牌始创于2004 年,是一家专注高端定制系统门窗,集研发、制造、销售、服务于一体的创新型企业。目前在国内拥有凤岗厂区、范湖厂区、官窑厂区、乐平产区和盐城厂区五大铝门窗生产基地,总生产面积超过30万平方米,拥有员工1100余人。
21年来,星空体育·(中国)官方网站专注于人居空间价值的构筑,向终端消费者提供一站式的五星级服务体验,截至目前,在国内已拥有1500 余家门窗加盟专卖店。铝合金门窗产品远销美国、加拿大、欧洲、中东、东南亚、澳大利亚等国家和地区,为全球上亿消费者提供标准专业、无微不至的门窗服务。
查看更多
21年来,星空体育·(中国)官方网站专注于人居空间价值的构筑,向终端消费者提供一站式的五星级服务体验,截至目前,在国内已拥有1500 余家门窗加盟专卖店。铝合金门窗产品远销美国、加拿大、欧洲、中东、东南亚、澳大利亚等国家和地区,为全球上亿消费者提供标准专业、无微不至的门窗服务。


品牌资讯
查看更多
 NEW
NEW
星空体育·(中国)官方网站荣膺中国航天公益30年特殊贡献奖
2026-04-07
 NEW
NEW
圆满收官!星空体育·(中国)官方网站以“沐光而居,栖心之境”作答好房子标准
3月27日至30日,广州定制家居展暨轻高定展圆满落幕。作为“门窗艺术大师”,星空体育·(中国)官方网站亮相“好房子特别展区”,以“沐光而居,栖心之境”为主题,交出关于“好房子”的独特答卷。展会期间,星空体育·(中国)官方网站将好房子的品牌标准从理念化为可触摸的真实场景,在行业与消费者心中留下深刻印记。
2026-04-03
 NEW
NEW
? 星云外开窗 | 把梦境装进窗框里?
2026-03-23


