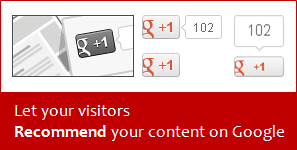
Do you have Google +1 button on your blog? If you just look into your post footer and enabled Blogger share buttons, you will see Google +1 button there with other sharing options. So you don't need to implement it again. I get it. But it belongs to post footer and you don't have a choice to move it to another place where you would like to display. Sometimes your visitors may never notice your +1 button on post footer. But you can show them where you wanna display, if you dig into your template code with the post Add Google +1 Button for Blogger Posts. Alright, so you don't need to touch your template code either. Then what you gonna do?
Now you don't wanna live with Google +1 button on post footer or touch your template to add Google +1 button to display on preferred place. Blogger introduces a Google +1 button element or gadget for Blogger users and now adding +1 button made easy in Blogger. Google +1 button let your visitors recommend your content on Google. The recommendations will be shown to their friends and followers on Google search results and it will influence them to check out your content recommended by their friends. So it will help bring more traffic for your blog too. Would you like to spread the word via Google search?
Before You Go:
* This +1 button gadget will be appeared on all your pages including homepage and post pages. But if you wanna add +1 button only for your posts, read Add Google +1 Button for Blogger Posts.
* The +1s or recommendations made via this button will be valid for the page the button is on. If you wanna implement +1 button for specific URL or page, read Add a Google +1 Button for Your Website.
Steps:
1. Go to Blogger Dashboard.
2. Click on your Blog Title.
3. Now jump to Layout tab.

4. Click on an Add a Gadget link displayed on the layout.

5. Now select +1 Button gadget from the gadget list popup window.

6. Select your preferred button size and annotation style from the configuration window. You will see a sample preview of your button according to your settings.
7. Click Save button after you are done with configuration.
8. Drag your +1 button element on the layout and place it where you want it to be appeared on your blog.
9. Now preview your blog and save your layout arrangement.
Enjoy :-)


