

Google+ is a popular social platform offered by Google and started to evolve on the web from 2011. It has introduced some new unique features to social world but yet they didn't catch up Facebook, the top rival in the social media with over 800 million of population. However it's in the process of dominating social media. As the search giant, Google started to associate Google+ with search by promoting authors and showing off user recommendations with search results.
It's a vital strategy for Google to get businesses on Google+ by creating brand pages and attracting more users on it. With the introduction of these features, Google offers a badge for users and brands to implement on their blogs and websites to be followed easily by their friends and followers. The functionality is much similar to Facebook subscribe and like box plugins. As a product of Google, now Blogger offers you the Google+ badge for your blog as an official element. Mind adding it to your blog?
It's a vital strategy for Google to get businesses on Google+ by creating brand pages and attracting more users on it. With the introduction of these features, Google offers a badge for users and brands to implement on their blogs and websites to be followed easily by their friends and followers. The functionality is much similar to Facebook subscribe and like box plugins. As a product of Google, now Blogger offers you the Google+ badge for your blog as an official element. Mind adding it to your blog?
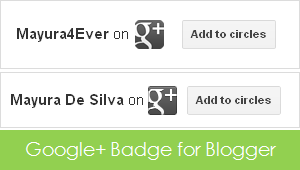
Earlier, we have discussed adding Google+ page badge and profile badge to your blog or website. It was just a matter of placing a code snippet. But now Blogger offers you Google+ badge to be added on your blog without even going through your blog template. You can either represent your Google+ profile or Google+ page via this badge and your visitors can easily circle you or your page for updates to be notified in their Google+ stream. The badge will automatically identify your profile or page according to your input. Also the badge is smart enough to decide it's width automatically. Let's find out how to add Google+ badge on your blog now.
Before You Go:
* You should have a Google+ account if you wanna add Google+ badge on your blog. Create a new Google+ account if you are not a Google+ member yet.
* Make sure you have a Google+ page in order to add a badge for your page. If you don't have a Google+ brand page yet, read How to Create a Google+ Page.
Steps:
1. Go to Blogger Dashboard.
2. Click on your Blog Title.
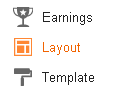
3. Now jump to Layout tab.
4. Click on an Add a Gadget link displayed on the layout.

5. Now select Google+ Badge gadget from the gadget list popup window.

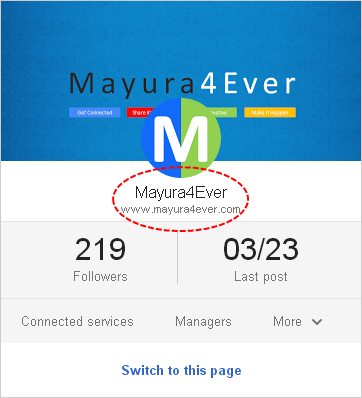
6. Enter your Google+ profile ID or page ID in the relevant text box at configuration window. You will see a sample preview of your badge.
Notes:
* If you don't know your Google+ profile ID, you can grab it by follow the steps below.
How to Find Your Google+ Profile ID
i. Navigate to your Google+ profile.
ii. Get your profile ID from the URL displayed in your web browser address bar. Your profile ID is a number similar to the highlighted value in below example.
i. Navigate to your Google+ profile.
ii. Get your profile ID from the URL displayed in your web browser address bar. Your profile ID is a number similar to the highlighted value in below example.
https://plus.google.com/110895337863776656534
* If you don't know your Google+ page ID, you can find it as below.
How to Find Your Google+ Page ID
i. Sign in to your Google+ profile.
ii. Navigate to Google+ Page Management page.
iii. Click on the page title.
iv. Now get to your web browser address bar and copy Google+ page ID from the URL which is similar to the highlighted value in below example.
https://plus.google.com/111117610607219889806/posts
7. Click Save button after you are done with configuration.
8. Position your Google+ badge on the layout by dragging it on the layout.
9. Now preview your blog for Google+ badge and save your arrangement.
Enjoy :-)
